Use Ozone to debug code with RTT
Published:
Brief
Ozone is a cross-platform debugger and performance analyzer for J-Link and J-Trace. You can get most information for usage on the official web site for Ozone.
RTT is a tool that transports data using Jlink from MCU to PC with high speed. For more information, you can visit this site.
On this page, I’m going to introduce you to debug code on WSL2 with Ozone.
prerequisite
- WSL2 should be able to access Windows app. In default, it could. If not, recover the default configuration. You can get help on this page “share-environment-variables-between-windows-and-wsl”.
- Ozone is installed on Windows system.
- Zephyr is installed on Ubuntu subsystem and is well configured.
How
I installed the Ubuntu 18 for the WSL2. Usually I use VSCode to access the Ubuntu subsystem. On this page, I choose a demo based on Zephyr as example.
Config project
- Run the following cmd in Ubuntu shell to configure project.
west build -b stm32f767g_apollo hello_world --build-dir build-stm32f767g_apollo-hello_world -t menuconfig
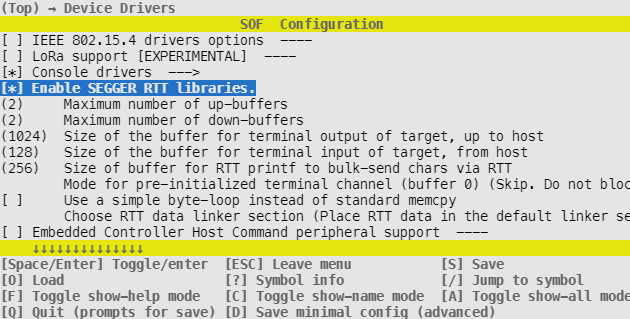
- Select ‘Enable SEGGER RTT libraries.’ in ‘(Top) → Device Drivers’.
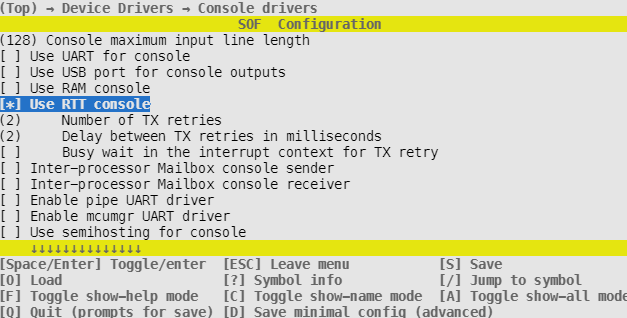
- Unselect ‘Use UART for console’ and select ‘Use RTT console’ in ‘(Top) → Device Drivers → Console drivers’.
- Finally, escape menuconfig and save config.
Build project
- Run the following cmd to build.
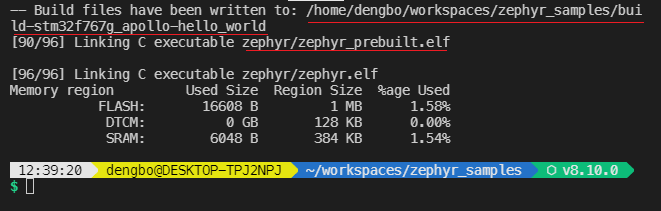
west build -b stm32f767g_apollo hello_world --build-dir build-stm32f767g_apollo-hello_world
After building is completed, we can get elf generated for debug.
Debug project
- Run the following cmd in Ubuntu shell to run Ozone.
Ozone.exe # This is Ozone's exe file name on windows.
Follow the ‘New Project Wizard’ to load project. Select the elf file when asked to choose ‘Program File’. The file path’s format should match with “\\wsl$\Ubuntu-18.04\Pathtoyoufile”.
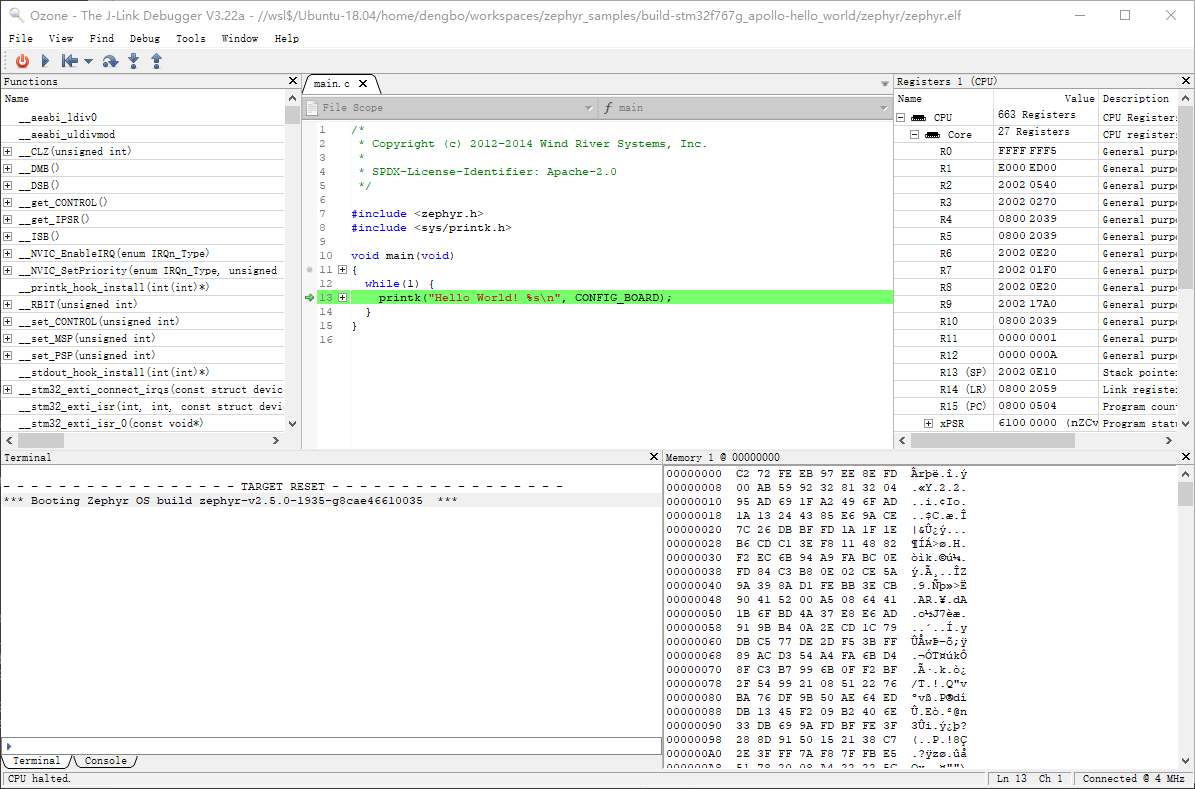
After elf is loaded in Ozone, open terminal by selecting “View->Terminal”.
Now you can download code to MCU and start to debug. You can see output in the terminal.